Getting Internet while camping is primarily done one of two ways… either through your existing cell phone provider, or through a satellite Internet service. Most boondockers use a hotspot through their existing cell phone provider because it’s cheaper. But if you want Internet even in the most remote locations, you’ll need the more expensive Starlink Roam satellite service.
How to Get Internet While Camping
The two primary ways campers get Internet access while camping…
- Through their cellular phone service (4G, 5G)
- Starlink Roam Satellite
Getting Internet Through Your Cellular Service
Of the three major cellular carriers in the United States, Verizon offers the best plan for heavy Internet users…
- Verizon Hotspot Premium: $80.00 month, 150gb
- AT&T Dataconnect: $100.00 month, 100gb
- T-Mobile Hotspot Plan: $30.00 month, 10gb
(the above prices and bandwidths were current as of January 2024)
Once you’ve reached the gigabyte limit noted above, your carrier will still keep you connected to the Internet, but will downgrade your speed to 3G levels, making it practically impossible to stream video or audio, but still usable for uploading and download text files and sending receiving e-mails.
How to Connect to the Internet With Your Cellular Service
You can connect to the Internet with your cellular service in one of three ways…
- Use your phone to browse the Internet – Any app you use on your cellphone can still connect to the Internet, no matter where you are on the planet, as long as you have connection. The good news about doing it this way is that you have no gigabyte limits.
- Use the hotspot service on your phone – Both Android and iPhone operating systems have a feature that you can turn on to connect your laptop without a wire. Using this hotspot option will cap your laptop or other connected device to the gigabyte limit of the plan.
- Use a separate hotspot device – This requires buying a separate hotspot device, which is the same as buying another phone number on your cellular plan. The device will act as a router allowing multiple devices to connect (laptop, tablet, gaming console, security camera, etc). The device will be capped at the gigabyte limit of your plan.
Most boondockers and campers rely on the third option, using a separate hotspot device. This allows multiple devices to connect to the same hotspot device. As long as you have the Verizon Hotspot Premium plan, which allows 150 GB of data, you can take care of all your Internet needs for an entire month.
How to Get a Stronger Cellular Signal While Camping
- Install the OpenSignal App on Your Phone – OpenSignal will display a map showing which areas have strong cell signal, and which areas are weak. It makes it easy to choose where to camp. It’s based on actual users running the app reporting their signal strengths. [Visit OpenSignal]
- Flat Land is Your Friend – This is because cellular signals cannot penetrate mountains, hills, and boulders. A cell signal traveling across flat, unobstructed land can travel for 10 to 20 miles and still show up on your phone with 2 to 3 bars of strength. Camping down in a canyon offers very poor cell signal because the signal travels over the canyon and doesn’t drop down inside where you are.
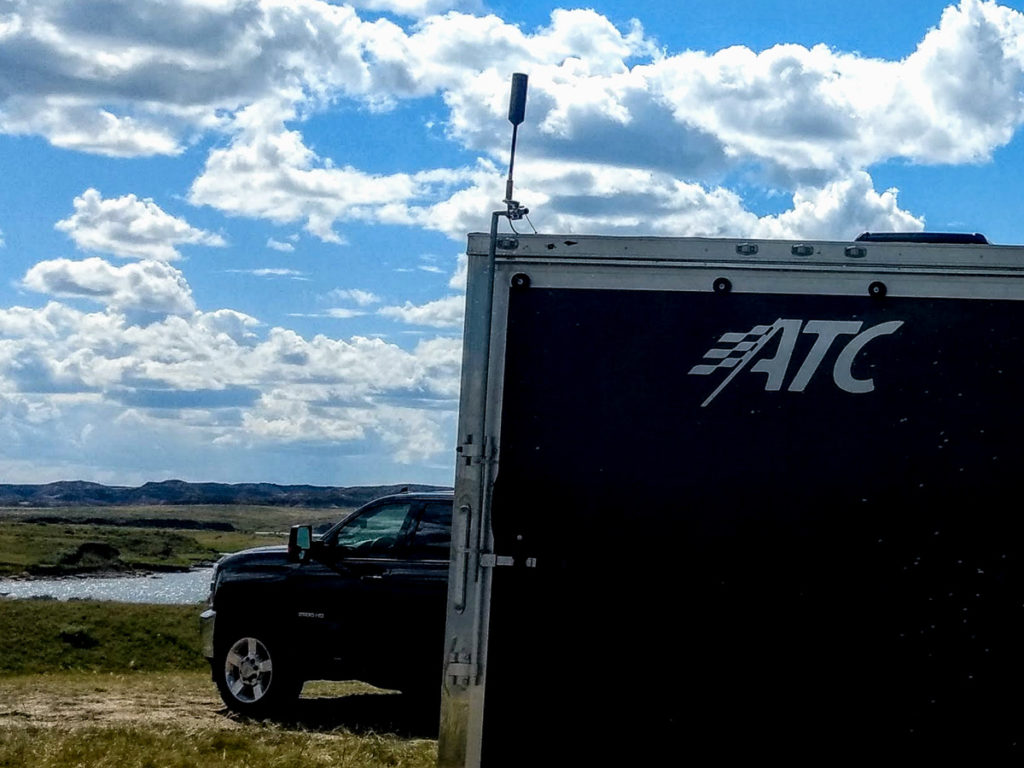
- Hotspot Antennas Grab More Signal – Antennas designed to plug into a standalone hotpot device are ideal for boondocking because they don’t require any additional power to function. You must mount the antenna either to your rig, or have it stand on the ground, then run a coaxial cable into your rig, and plug it directly into your hotspot device. Make sure to use a hotspot device that has at least one antenna port, preferably two. Proxicast is the leading brand in the hotspot antenna market (see them on Amazon). Netgear makes a cheap but very effective window-mount antenna (see it on Amazon).
- Cellular Boosters Help Increase Signal Strength – Boosters use an antenna similar to the above, but feed the signal into a booster unit. The booster unit increases the signal volume so that a weak signal becomes useable. They do a better job than hotspot antennas in places that get only 1-2 bars of strength, but become useless in places that get 3 bars or more due to the increased noise. The booster unit also has to be plugged into a power source, whereas a hotspot antenna does not. Boosters do not require the use of a hotspot device and will benefit any phone, tablet, or 4G\5G capable device. For RVs we recommend getting the “WeBoost RV 65” (see it on Amazon). For cars and vans we recommend getting the “WeBoost Drive Reach” (see it on Amazon).
Starlink Roam Satellite
Starlink, which is a satellite Internet service operated by SpaceX, offers a specialized service just for mobile users. It’s called Starlink Roam. We’ll go over the specifics, but you can visit its website here… https://www.starlink.com/roam
The costs…
- $600.00 flat fee to buy the hardware, plus…
- $150.00 a month, if you plan to travel exclusively in North America, or
- $200.00 a month if you want to travel across the globe, or
- $250.00 a month if you want to use Starlink while driving down the road.
What’s the Difference Between Starlink Roam and Starlink Residential?
Starlink Residential costs a little less, $120.00 per month, but the hardware and satellite is the same. The difference is that Residential will not work if you move the equipment outside of your neighborhood. That is, if you wanted to take your Starlink dish on vacation to the Grand Canyon, it won’t work.
Hence, Starlink Roam charges you a higher fee per month so that the hardware will work anywhere you take it.
Does Starlink Roam Truly Work Anywhere?
As long as the dish has an unobstructed view of the northern sky, it will work anywhere. Thus…
- It won’t work if the dish is covered under a canopy of trees.
- It won’t work if the dish is located in the bottom of a canyon.
- It won’t work if the dish is obstructed by other vehicles.
You may need to buy additional Starlink cable (the hardware already comes with 50ft of cable) to move the dish far enough to where it can get a clear view.
Starlink Setup Requirements
Starlink Dish – Has a cable that will be plugged into the Starlink Router. The router will sit inside your vehicle and will be plugged into a standard 3-prong wall-outlet (120v AC). Thus, the router feeds power to the dish, while the dish feeds data to the router.
Starlink Router – Your laptop, phone, tablet, gaming console, security camera, will connect via Wi-Fi to the Starlink Router.
Power Requirements: Both the dish and router will consume between 50-75 watts of power. Starlink recommends at least a 500-watt power station (Jackery, Bluetti, Anker, et al) that outputs pure sinewave power. A Jackery 500 Power Station should provide about 15.5 hours of run time. You could also use a gas generator as long as it has an inverter that produces pure sinewave power.
Dish Mounting – Most boondockers use the included base and let the dish stand on the ground. If your vehicle is parked with an unobstructed view of the northern sky, you can instead let it sit on the roof.
Does Starlink Still Work in Bad Weather?
Rain, snow, and even dust clouds can interfere with the signal, leading to slower speeds, or intermittent outages. The same is true with cellular data because both cellular and satellite equipment transmit radio signals.
Starlink describes its dish as being “Weather Resilient”, meaning it will hold up against rain, snow, ice, and wind. Hail, obviously, is a different matter depending on the size of the hail.
Under hot weather, the dish is designed to withstand temperatures of up to 122F (50C). Above 122F, the dish will shut itself down. Under extreme cold weather, the dish includes a thermal de-icer that will melt snow and ice accumulation.
Another website, Starlink Insider, provides a good discussion of Starlink’s connectivity in extreme weather.
Which is Better, Starlink or Cellular Service?
The case for Starlink…
- Best if you’re boondocking with a family. This way everyone gets Internet access, your kid(s) can still get online-learning, play video games, and the family can watch Netflix at night.
- Best if you’re a YouTuber and you spend much of your time producing videos.
- Best if your job requires you to participate in video conferences frequently.
- Best if you plan to stay in cooler weather during the summer, so that the dish doesn’t shut itself down.
The case for Cellular service…
- Best if you’re a single camper, you don’t produce videos, but still need to be online for much of the day.
- Best if you’re a couple who spends much of their day outdoors, hiking, exploring, etc., but watches Netflix together at night.
- Best if your goal is to camp close to cities where 4G and 5G signals are strong.
- Use the OpenSignal app (Android Store) (Apple Store) on your phone to see a user-based coverage map for all three major US carriers. Then you’ll know where to camp, and where not to camp.
What About 5G Technology?
Cellular signal strength and bandwidth is getting better year after year. The newest 5G technology is extremely fast, far faster than Starlink.
The problem with 5G is that it is still not available in remote and rural areas, which is where most boondockers go. However, if you plan to set up camp somewhere close to a city, then you should consider buying a 5G-enabled hotspot device from your carrier.